 Back to the Computer Zoo
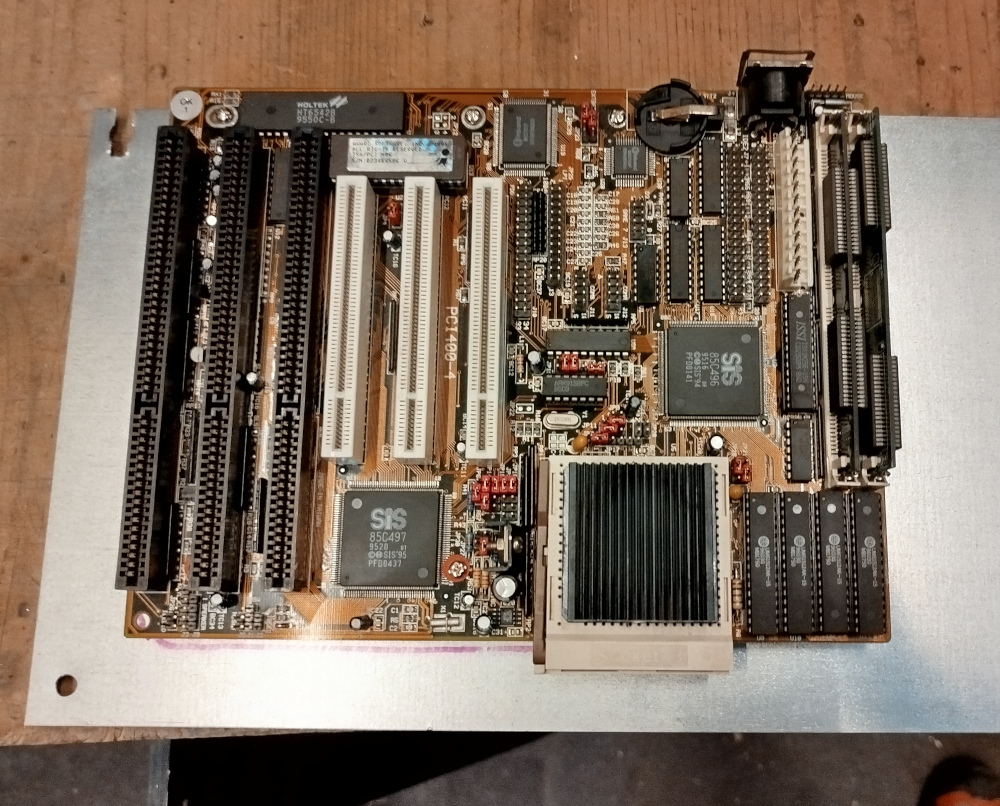
The mainboard was mounted on an independent piece of steel sheet metal, running the entire 40cm length of the case, but only 20cm wide, leaving a 10cm gap (circa 3.94") towards the front.
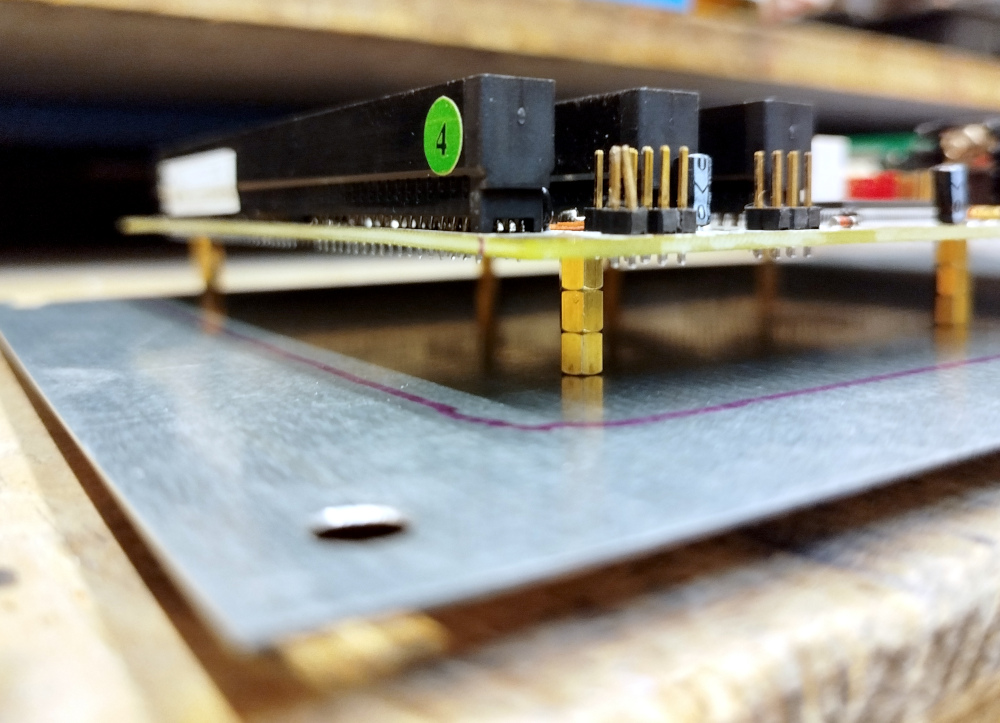
A total of 3 stacked standoffs, cut to the correct lenght were used to bridge the vertical distance to the I/O bracket in the back. The position of the I/O bracked was fixed by the width of the aluminium extrusion at the bottom, forcing the mainboard height to adjust, one way or another. An alternative would have been a different contraption to somehow raise the level of the plate that the mainboard is mounted onto. This would have raised further problems with the additional supports for the mainboard plate.
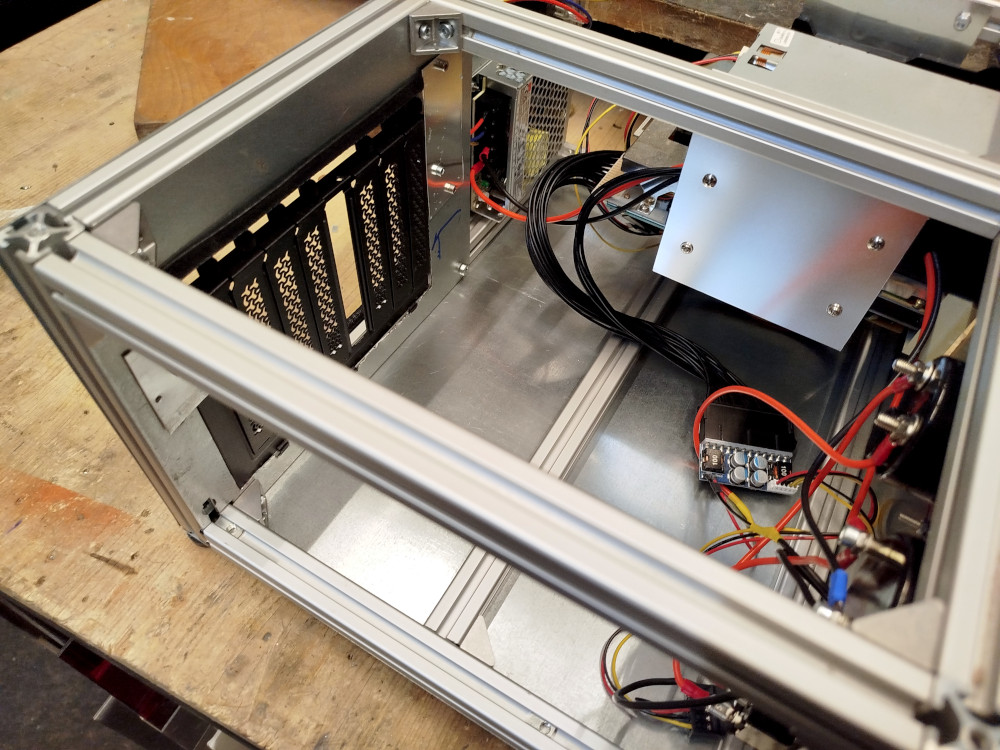
When putting the metal plate with the mainboard into the case, there was some noticable slack, so another lengthwise strut was added to support it from below.
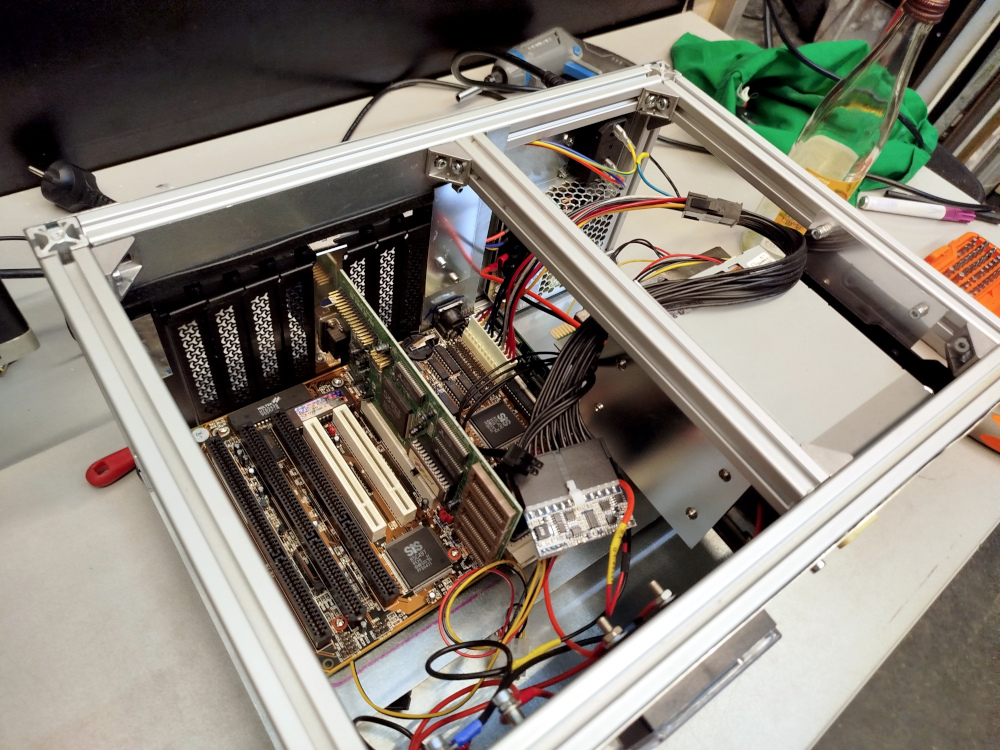
With everythin in place, an S3 Virge/DX based PCI graphics card was installed.
When looking closely, you may spot that there is a gap between the I/O bracket and the graphics card. This picture was actually taken before cutting the standoffs to the appropriate lenght.
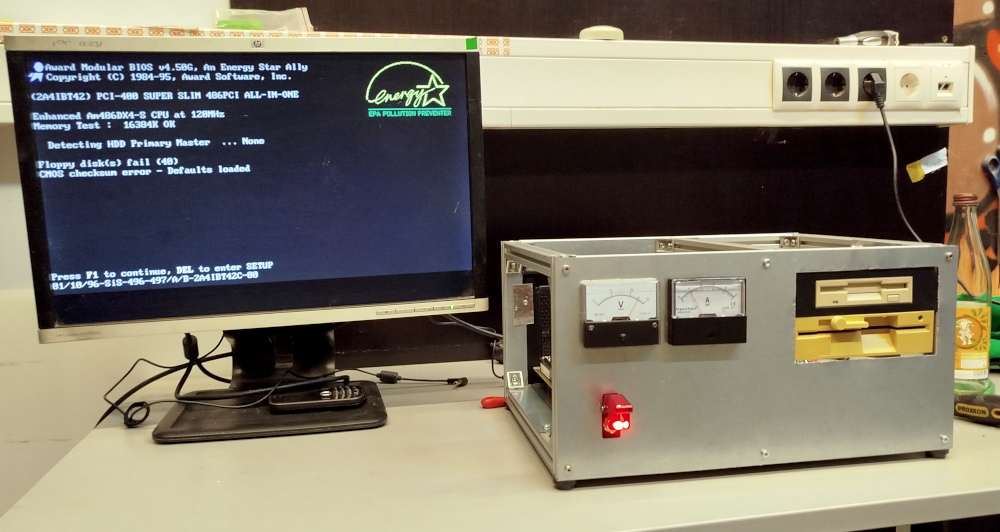
Plugging it in and flicking all the power switches, we can see that everything works!
 Back to top Back to top
|
| |
Back to the Computer
Zoo
|